This tutorial will walk you through installing Microsoft’s SQL Server 2008 Express Edition. This will allow us to create a database and start writing more advanced applications in Visual Basic that require a database. Microsoft has the express edition available free for download at
http://www.microsoft.com/sqlserver/2008/en/us/express.aspx . This version will allow you to do anything you will need for most personal and small business databases. The database size is limited to 4 gigs but most small business and stuff won’t even get close to that. If that is too small for you, you should really consider buying the software. Let’s get started.
***NOTE*** The first several steps are only required if you don’t have .NET 3.5 installed on your machine already. There is also extra windows (not all of which are pictured in this tutorial) for PowerShell and Windows Installer 4.5. It won’t require you to download them and install it if you already have them.
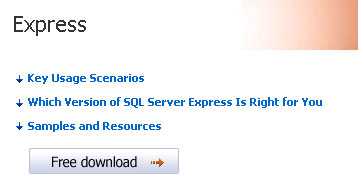
Once you are at the pager, click on the Free Download button and it will take you to a login page. You need to register or already have a live account. It is free to register so go ahead. Once you get past that and log in, it will ask you to verify some information Once you verify the information and click on continue you will go to the download page.

Near the top of the download page, you should see the download now image. Click on this to begin the download. This will download a 605 kilobyte file that will download and install the software for you. Once this file downloads, launch it and you can start the installation process.

You will be given a window that has the EULA for .NET Framework 3.5. Review this document and agree to continue.
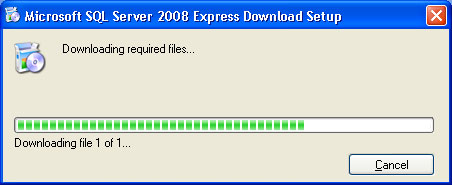
Next, this window will appear and start downloading the .Net Framework.
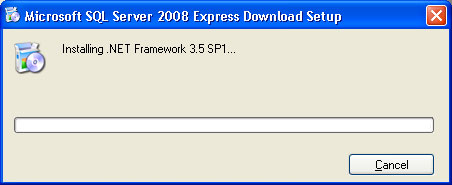
Once you are done downloading, it will automatically begin installing it for you.
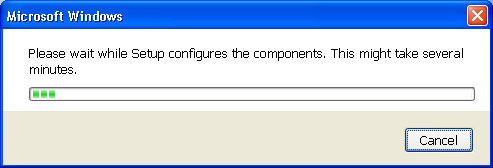
This window will come up during the process….this part may take some time, so please be patient and let it complete.
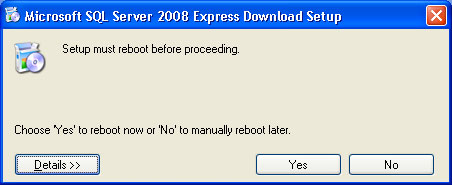
You will get the above window alerting you that your machine must be rebooted before continuing. Save and close out of anything you are doing (and bookmark this page to come back an finish) and the give it the ok to reboot. Once windows reboots it may or may not restart the installation. If it doesn’t, just click on the setup icon and it will resume.
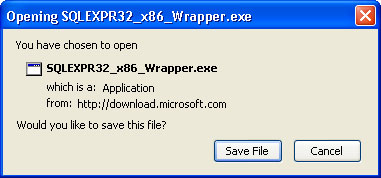
It should begin to download another file like shown above. Just download the file and then run it to resume the rest of the installation.
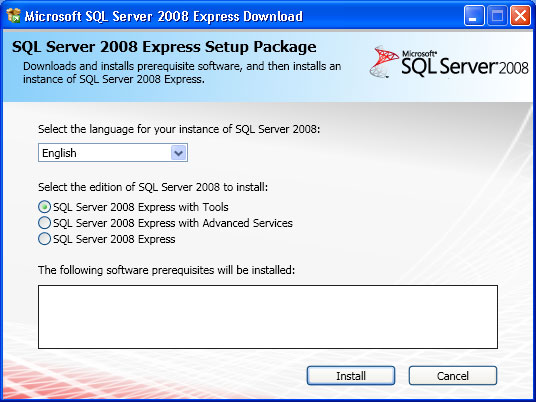
This window lets you pick which version you want to install. The options for additional services and with tools both will also install Windows PowerShell which is a scripting utility. I am going to go with the tools as well. This will give us the manager which will allow us to create databases, columns, and information. Click on install to begin installing the needed software.
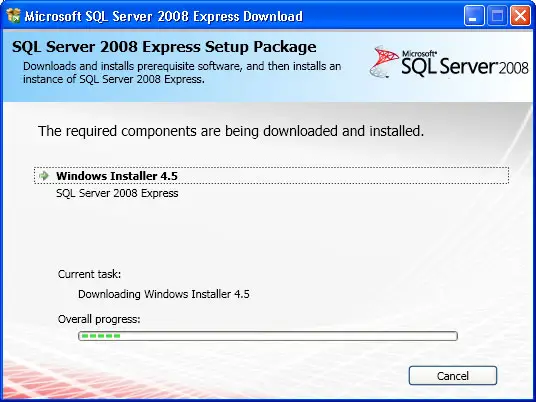
This window will then come up and show you the progress of your install. You will then be prompted to restart your computer. Tell it to restart again. Once you reboot it will come back to the installation screen and continue installing again.

This screen will appear and test your machine to make sure it can run SQL 2008. If anything in here fails, it will need to be resolved before installation can continue.
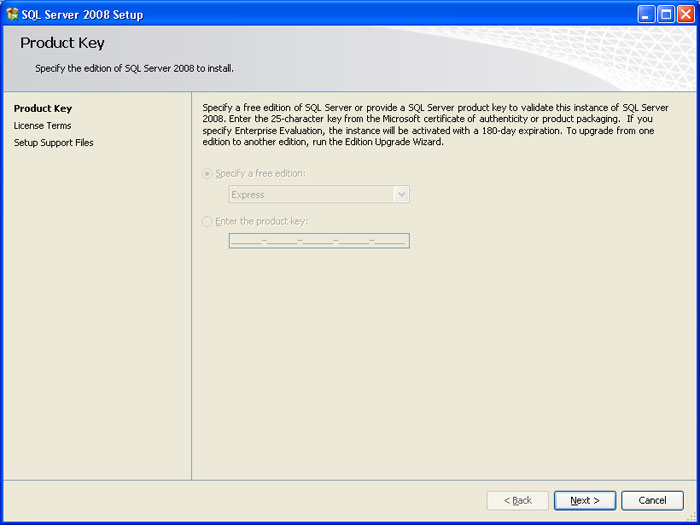
This screen is were you select what type of install you want to use but seeing as we downloaded the express edition that is already marked for us and it is all grayed out. Just go ahead and click next.
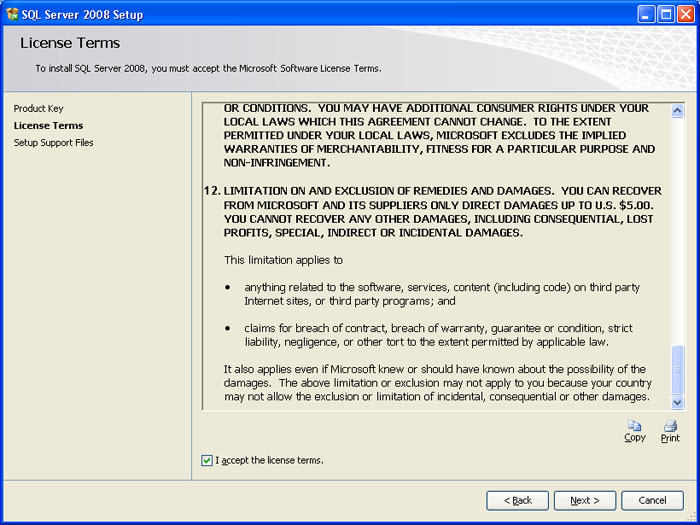
This screen gives us the Terms of Service for SQL 2008. Read and understand these terms and check to box saying that you agree with them. Once you have done that, click on next to continue.
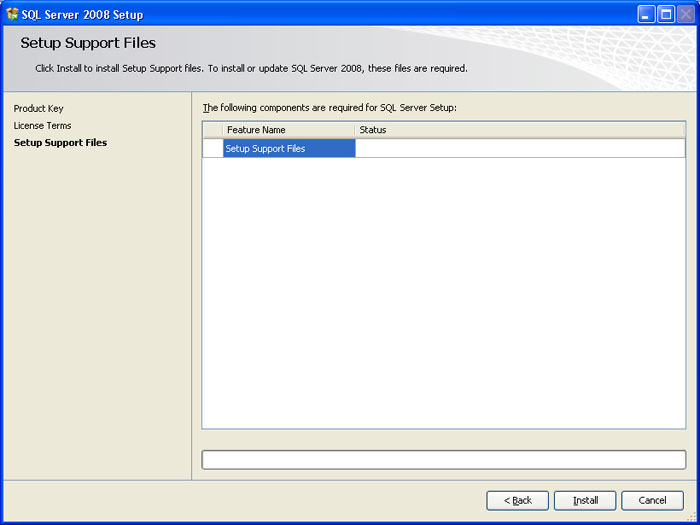
This window shows you what needs to be installed for everything to work. Click on install to begin the process.
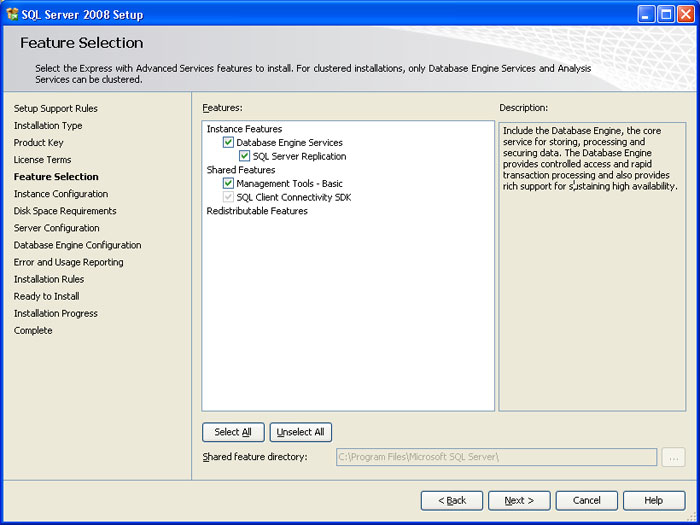
This screen lets you pick extra features that you can install if you would like. For this tutorial I am selecting all of them. Click the select all button and then click next to continue.
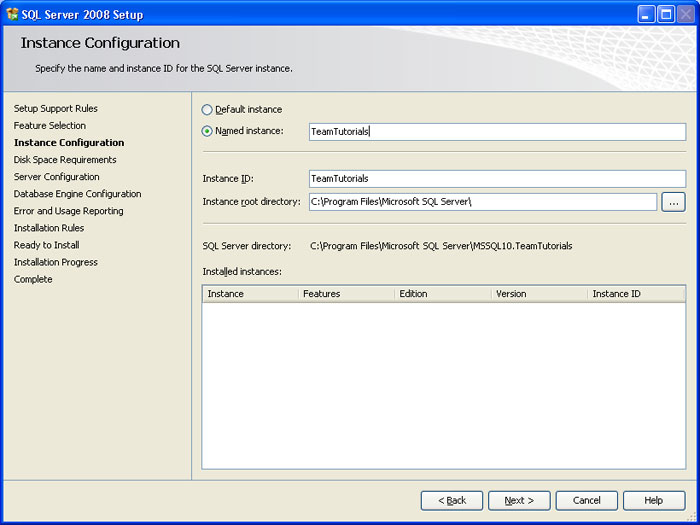
This screen lets you pick the name of the instance and where to put it. An instance name will allow you to install several different instances of SQL and call them independently. You can name it anything you would like. Click next to continue.
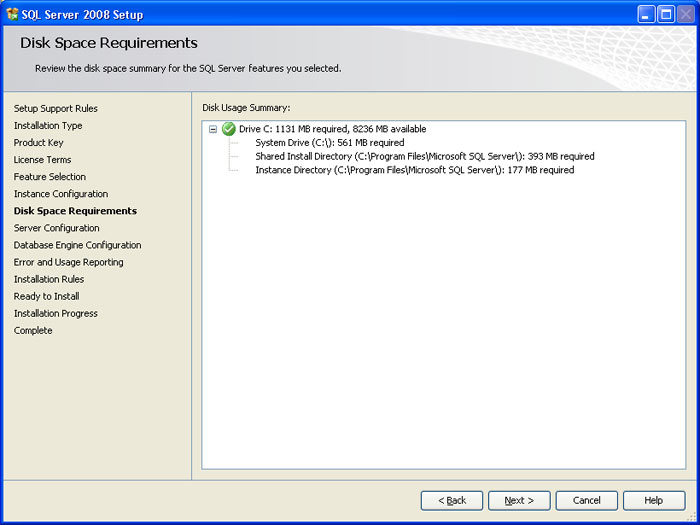
This screen checks to ensure you have enough hard drive space for the installation to continue. Click next to continue.
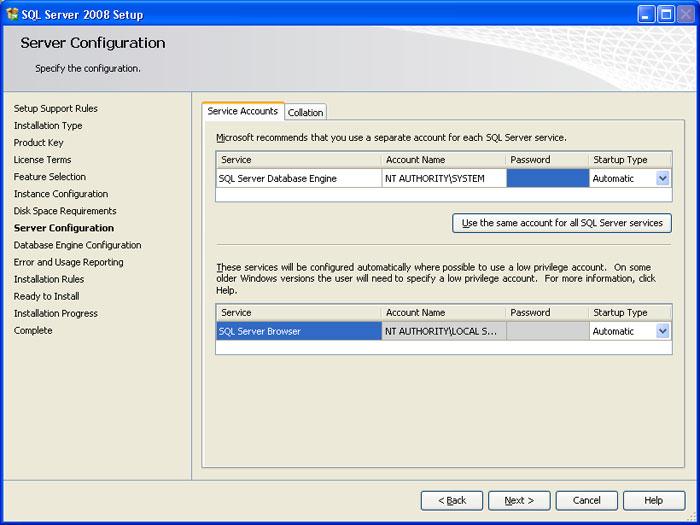
This window let’s you pick what account on your computer should run the service for the SQL server. Select the system account for the top service and make sure that both of them are set to automatic.
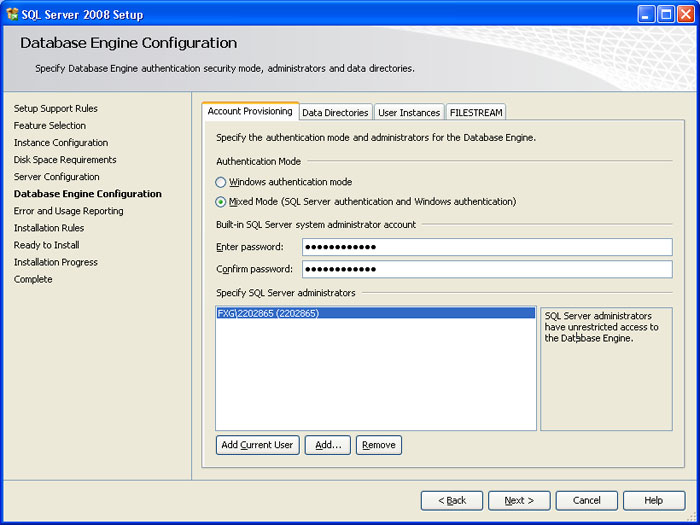
This window lets you pick whether you want to authenticate users using windows authentication or using database credentials separately. Check the box that uses both and add you current user for the windows part and then type in the password twice that you want to be associated to the built-in database administrators account.
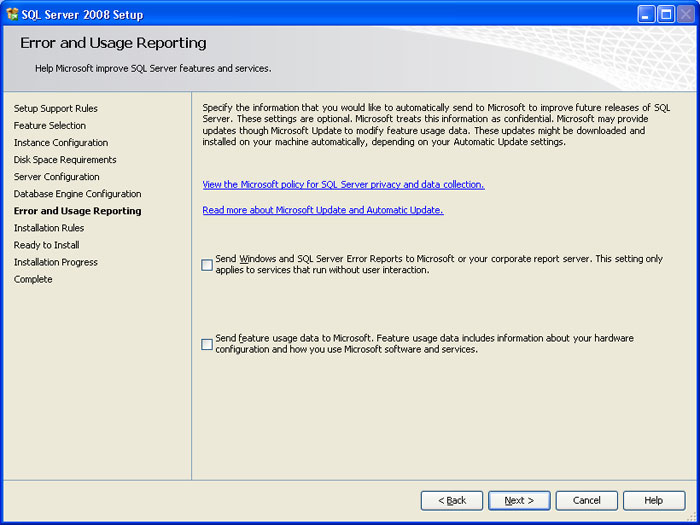
This windows lets you select whether or not you would like to send error messages to Microsoft for reporting. You can also opt to send operating information to Microsoft to help them make better products. Click next and it will go through another system check to ensure more things are ready for the install. Click next on that screen as well.

This window reviews all of the configuration options that we selected. Make sure everything looks the same as it should and then click next to finish the installation process.
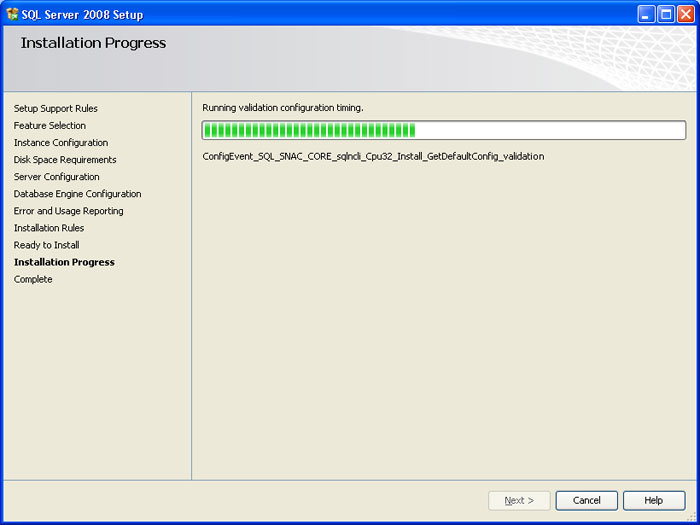
This screen shows the installation process and will continue once the installation is completed. Click next to go to the final screen. The final screen gives you some information that may be helpful to you so read through it. Click on close once you are finished. I hope this tutorial was easy to follow and you learned from it. Next tutorial will walk you through configuring your database for access and creating the tables for it as well.


